Establishing Proper Workspace And Material Preparation
The fastest way to ruin a child’s session is using generic school paper that dissolves into puddles and pills under the brush. Trust me on this, you need a durable 140lb cold-press paper that can handle the inevitable water floods without warping, especially when practicing watercolor painting techniques for kids. Synthetic brushes are perfect for small hands because they spring back to shape and hold a point even after enthusiastic scrubbing.
Set up your workspace with two water cups from the start, one for rinsing pigment and one for picking up clean water, to combat the common habit of muddying paint pans. Keep a cloth or paper towel nearby for blotting brushes, which teaches a crucial maintenance skill. This simple setup prevents frustration and keeps the focus on creativity.
Understanding Water Ratio And Pigment Control
The single most important lesson for kids is that a clean, wet brush on dry paper creates soft, transparent layers perfect for building up color. You will notice beautiful gradients happen when they apply more pigment to a damp area, letting the paint flow into the water already on the page. The trick is teaching them to watch for that perfect shiny wetness without letting it become a puddle. When mastering watercolor painting techniques for kids, this control over water ratio is what separates a muddy wash from a vibrant, layered sky.
Encourage them to try painting a shape on dry paper, then immediately touch it with a brush loaded with a different color to see the magic bleed. Mastering this fundamental principle unlocks all the fun textural effects later.
1. Heavyweight Cold Press Watercolor Paper — The Essential Foundation

Ever wonder why your child’s painting turns into a wrinkly mess? The paper is the secret. You need to start with heavyweight cold press paper, a foundational choice among watercolor painting techniques for kids. I love this one because its thick, textured surface holds water and pigment beautifully. It resists warping so kids can layer colors without frustration.
This paper encourages experimentation. Focusing on watercolor painting techniques for kids, its forgiving nature lets young artists scrub and wash without the page falling apart. Try it and see their confidence grow. Once you have this solid base, you can move on to some simple watercolor ideas for children to put it to good use.
2. Synthetic Hair Round Paint Brushes for Easy Control

Ever wondered how kids can get those super sharp lines and tiny details in their watercolor paintings? The secret is often a synthetic round brush, especially when practicing watercolor painting techniques for kids. I love how these brushes work. You hold it like a pencil and press down gently. The fine point gives you a thin line, and pressing harder makes the stroke wider because the bristles spring back perfectly.
This works so well because the man-made bristles are designed to hold paint just right and release it smoothly every time. Trust me, the control you get feels like magic and makes any painting project look more polished, which is a big part of successful watercolor painting techniques for kids.
3. Essential Watercolor Pan Paint Sets for Beginners
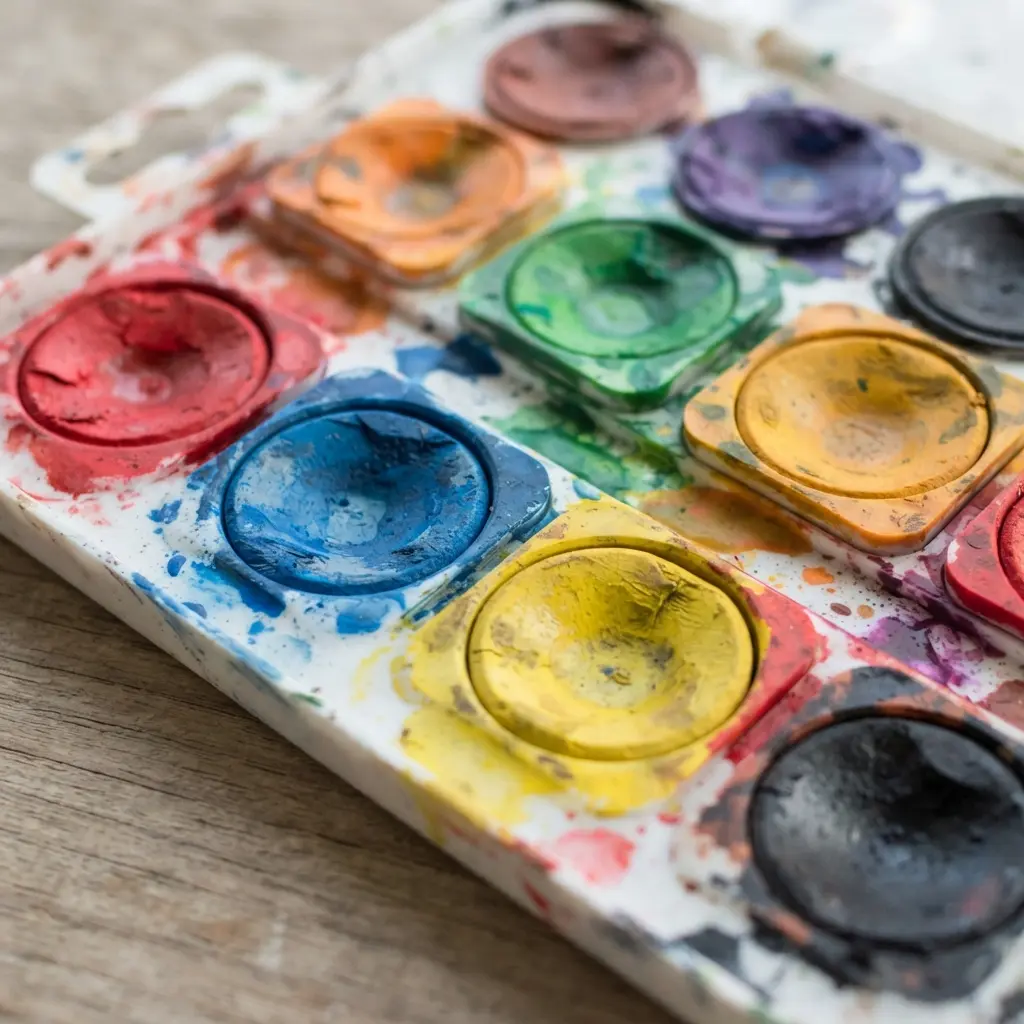
Ever wondered how to get a child started in watercolor without the mess? Pan paints are the perfect solution. They are incredibly portable and forgiving for young artists, making them ideal for watercolor painting techniques for kids. These pre-dried cakes of color are activated with a brush and water. I love how they let kids focus on mixing and painting right away.
Two standout sets are the Winsor & Newton Cotman Sketchers’ Pocket Box and the Sakura Koi Watercolor Sketch Box. The Cotman set offers excellent student-grade pigments in a tiny, all-in-one case. Exploring watercolor painting techniques for kids, the Koi set is famous for its vibrant colors and includes a handy integrated water brush.
Getting a great first set removes a big barrier to entry, a helpful tip when learning watercolor painting techniques for kids. A practical first project is trying a creative watercolor heart painting to practice basic washes. It is a simple, joyful way to see those colors come to life. You will be amazed at what they create.
4. Double Container Water Rinsing System for Clean Colors

Ever notice how a single water jar quickly turns into a murky brown soup? That is where this simple system saves the day. While refining watercolor painting techniques for kids, you use two containers: a first dirty jar for the initial rinse and a second clean one for the final dip. Swirl your brush in the first to get most of the paint off, blot it, and then give it a final clean swirl in the fresh water.
This keeps your colors pure and vibrant because your clean water stays clean longer. I love this tip for preventing muddy mixes. Your little artist will feel so proud seeing their bright colors stay true on the paper, a rewarding step in watercolor painting techniques for kids.
5. Color Mixing Pigment Theory Basics — A Simple Start

Ever wondered why mixing red and blue makes purple? It is all about the subtractive color model. When you mix pigments, they absorb light, and the color you see is what is left. Start with just red, yellow, and blue paints. When teaching watercolor painting techniques for kids, mix two of these primary colors to create orange, green, or violet.
I love showing kids how a tiny bit of a color’s opposite, like adding a speck of green to red, can instantly make it more earthy. It is much better than using black, which can get muddy. For a super fun way to play with color and texture while practicing watercolor painting techniques for kids, you should explore salt painting art techniques.
6. Flat Wash Technique for Smooth Backgrounds

Ever wonder how artists get those flawless, even backgrounds? The secret is mastering the flat wash technique, a staple among watercolor painting techniques for kids. You tilt your paper, load a big brush with a lot of watery paint, and pull it across in smooth, overlapping strokes. The trick is to keep a wet bead of paint moving ahead of your brush so each stroke blends perfectly into the last.
I love this one because it feels so satisfying when you nail it. You will need a large wash brush and paper heavy enough to handle the water without buckling. Trust me, mixing a generous puddle of paint before you begin is the key to avoiding streaks. As you master watercolor painting techniques for kids, feel the magic when that seamless color appears.
7. Wet on Wet Blending Process for Soft Transitions

This technique looks like magic, but it is one of the easiest ways to make beautiful, cloud-like skies. When demonstrating watercolor painting techniques for kids, you start with a large, soft brush to dampen your paper with clean water. Then, while the surface is still shiny and wet, touch your loaded brush with one color, then another right next to it. Watch them flow and mingle on their own to create a soft gradient.
I love how forgiving this is for young artists. The water does most of the work, so there are no harsh lines to worry about. Incorporating watercolor painting techniques for kids, it is the perfect foundation before trying more controlled projects like fun splatter painting ideas for kids.
8. Wet on Dry Detail Application for Sharp Lines

Ever wondered how artists get those super crisp lines and perfect little details? This is the secret. You simply apply your wet paint onto a completely dry surface. I love this one because it gives you so much control. Emphasizing watercolor painting techniques for kids, make sure your paper is bone dry and your paint is a bit thicker, like a nice concentrated wash. Then, use a fine-tipped brush to draw your lines or add those finishing touches.
It works because the dry paper stops the paint from spreading, so every stroke stays exactly where you put it. Feel the satisfaction of seeing your sharp, clean details pop.
9. Crayon Resist Drawing Method for Magic Reveals

Ever drawn something you could not see? This is the perfect trick for that. Press a white wax crayon firmly onto your paper to make your secret picture. While exploring watercolor painting techniques for kids, when you brush a wash over the whole page, the wax repels the paint and your hidden drawing pops out like magic. I love how it feels like a little science experiment and a surprise all in one.
Use sturdy paper to prevent a soggy mess, and try a dark paint color for the best reveal. For another fun, process-driven technique that kids adore, you should learn marble painting for kids. Practicing watercolor painting techniques for kids, it is a blast to see the vibrant, swirling results!
10. Salt Texture Effect Technique for Sparkling Stars
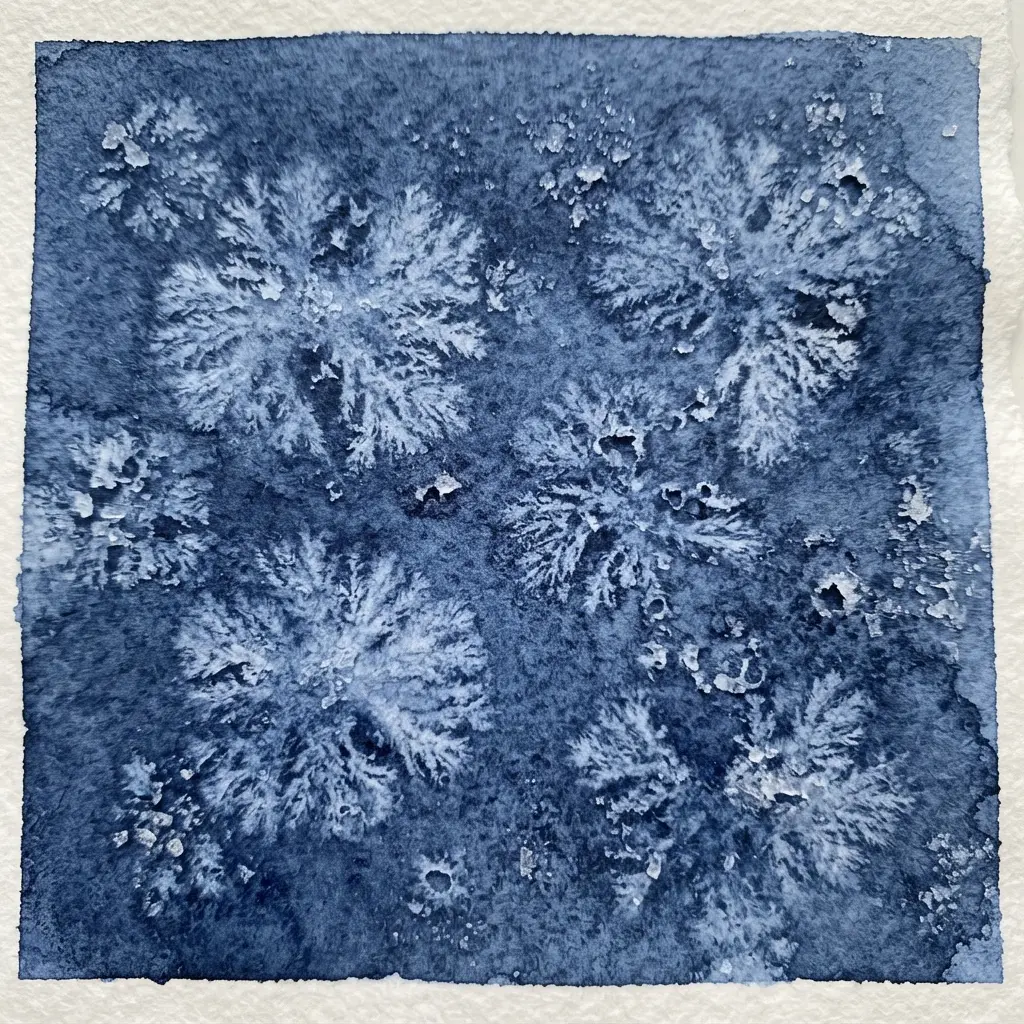
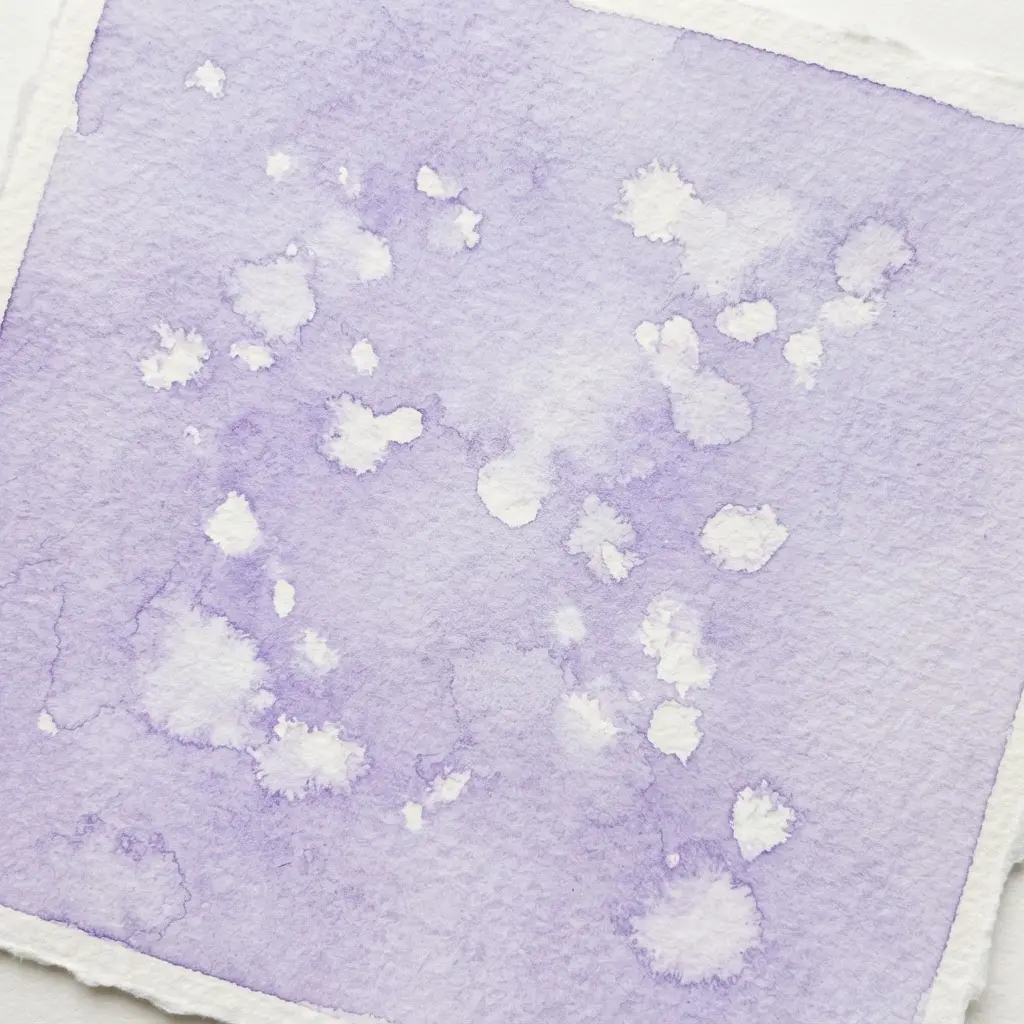
Ever wondered how artists make those perfect, random-looking stars in a night sky? This is my go-to trick because it feels a bit like magic. When applying watercolor painting techniques for kids, you paint a dark wash for your sky, then sprinkle kosher salt onto the wet paint while it is still glossy. The salt absorbs the pigment, leaving behind those beautiful light spots as it dries.
I love how the effect mimics real, distant stars so naturally. The key is letting the paper dry completely before you gently brush off all the salt crystals. Try it and feel that satisfying sparkle come to life, a simple step highlighting the beauty of watercolor painting techniques for kids.
11. Plastic Wrap Impression Stamping for Icy Patterns

Ever wondered how to create those beautiful, frosty textures? This one is a blast for kids because it is so tactile. You simply apply a medium layer of paint to a piece of plastic wrap, a common tool for watercolor painting techniques for kids, scrunch it up while the paint is still wet, and then press it onto your paper. When you peel it back, you are left with these amazing, organic patterns that look just like ice crystals or cracked frost.
It is a fantastic way to explore texture without any drawing pressure. I love how the cool blues and silvers blend in the folds. It works so well because the paint pools in the crinkles, transferring only where it touches the paper. When using watercolor painting techniques for kids, this method is perfect for a winter scene background, or even for creating cool watercolor easter egg craft ideas with a frosty, speckled look.
My go-to tip is to let the paper dry completely before adding any other details. Remember, patience is key when teaching watercolor painting techniques for kids. Does that not look magical?
12. Alcohol Drop Blending Method for Blooming Effects

Ever wondered how artists get those cool, lacy flower shapes in their paintings? This is the trick. You drop isopropyl alcohol from a pipette onto your wet watercolor wash. The alcohol pushes the pigment away and then evaporates quickly, pulling the color into a ring and leaving a beautiful bloom behind. I love this one because it feels a bit like magic science on paper.
As one of the most fascinating watercolor painting techniques for kids, it is perfect for making foliage or clouds, and works great after you have practiced a few easy subjects for kids to paint.
13. Paper Towel Blotting Technique for Lifting Color

Ever wondered how artists get those soft, fluffy clouds in their watercolor skies? The secret is often a simple paper towel. You apply your paint, and while it’s still damp, you gently press a folded paper towel corner onto the area you want to lighten. Lift it straight up—don’t rub—and watch the color lift away, creating perfect highlights or textures.
This technique is a lifesaver for correcting little mistakes or softening edges, and it feels like a magic trick every time you do it. Trust me, your kids will love the instant, satisfying results, especially when exploring watercolor painting techniques for kids.
14. Masking Tape Edge Finishing for Clean Borders
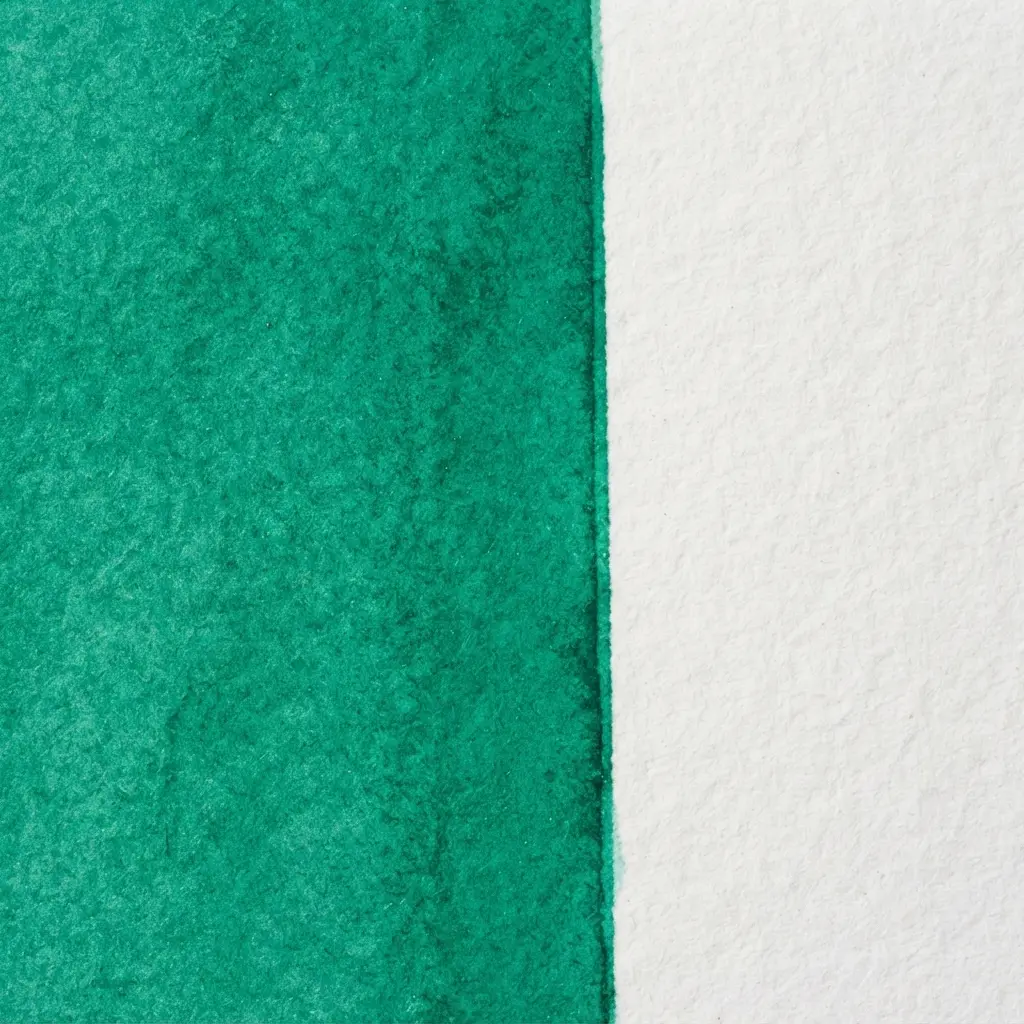
Ever wondered how kids can get such neat, clean edges on their watercolor paintings? It is often a simple trick with masking tape. You carefully apply it to mark your border, press the edge down firmly with a credit card, then paint right over it. Once the paint is dry, you peel the tape away to reveal a perfect, sharp line.
I love how this gives young artists instant confidence. It is a fantastic way to learn about control and negative space, and it opens the door to experiment with mixed media painting down the road. Mastering this step is essential for watercolor painting techniques for kids. Feel proud of that crisp finish.
15. Straw Blowing Paint Dispersion for Wispy Lines

Ever wondered how to make those magical, feathery lines without touching a brush? You just need a straw and some diluted paint. Drop a bit of thin, milky paint onto your paper and blow through the straw across it. The air pushes the paint into these amazing, branching wisps that you can guide a little, but the results are always a fun surprise.
This playful method stands out among watercolor painting techniques for kids. I love this technique for its wild, organic feel. It adds instant movement and a touch of magic to any background or abstract piece. Trust me, the look of delight on your face when those wispy lines appear is the best payoff when sharing watercolor painting techniques for kids.
16. Spattering Paint Texture Effect for a Starry Sky

Ever wondered how artists make those beautiful, random star patterns look so real? You start with a dark background layer, then use a digital spatter brush loaded with white and light colors. Click and drag to scatter paint flecks of different sizes across the sky. Practicing this method refines watercolor painting techniques for kids beautifully.
The magic is in the layers. I love adding a second, smaller spatter layer for depth, then placing a few bright individual stars by hand. This technique works because it naturally creates that irregular, sparkly look you see in real night skies. Trust me, you will feel a real sense of wonder when your starry scene comes together. For a fun change of pace, you could also try geometric painting for beginners to explore another structured style.
17. Layering Wash Transparency Concept for Depth

Ever wondered how some paintings look like they have real air and space inside them? This layering trick is your secret. When teaching watercolor painting techniques for kids, you start with the lightest, most watery wash of color and let it dry completely. Then you add another slightly darker wash on top, letting each layer show through the one before. I love how this builds up a sense of distance and form so gently.
The key is patience and a light-to-dark sequence. It works because you are letting the light of the paper glow back through each transparent layer. Try it and feel the magic of watching your picture get deeper with every stroke.
18. Sponge Dab Texture Method for Fluffy Clouds

Ever wondered how to paint clouds that look soft and real, not like flat cotton balls? This approach feels incredibly effective. You simply load a damp sea sponge with a tiny bit of paint, dab off the excess, and then press it lightly onto your paper. The random, open texture creates those perfect fluffy edges and subtle shadows automatically.
I love how this method teaches you about texture and light in such a hands-on way. It is so satisfying to see those cloud shapes appear with just a few gentle presses. Once you have mastered this, you will have a fantastic skill for all your landscape paintings and other colorful art activities for kids.
19. Graded Wash Color Transitioning for Sunsets

Ever wonder how those sunset paintings get such smooth, dreamy color shifts? This technique is your answer. You will apply bands of color on a damp surface, starting with your lightest hue like yellow at the horizon and moving to darker ones like purple above. The magic happens as the wet paint naturally flows and blends into the next shade, creating that perfect gradient.
I love how it feels like the painting does the work for you. The key is working quickly and letting gravity help. Tilt your board at a 15 to 30 degree angle so the colors can run together beautifully. These reliable watercolor painting techniques for kids ensure you will always get vibrant skies.
20. Stencil Negative Space Painting for Simple Shapes

This one is a clever twist that looks like magic to kids. You place your simple shape stencil down on paper and paint the whole background around it. When you lift the stencil, the shape is left perfectly clean in the paper’s original color, defined by the painted space. It teaches a fantastic lesson about positive and negative space in a super visual way.
I love how crisp the edges turn out every single time. For a perfect result, press the stencil down firmly and use a dabbing motion with your brush to prevent paint from bleeding underneath. Incorporating watercolor painting techniques for kids, this approach pairs perfectly with other creative puffy paint project ideas for a fun, textured art day.
21. Eraser Lifting Paint Correction for Happy Accidents
Ever had a stray dot or smudge that just does not belong? This trick is my go-to for those little ‘happy accidents’. You gently dab a kneaded eraser over the dry paint. It lifts the pigment off the paper without any damage.
It works because the eraser is soft enough to grab the color but not the paper surface. Trust me, seeing that little mistake disappear is so satisfying. Knowing watercolor painting techniques for kids means knowing how to fix the little slips effortlessly.
Preserving And Displaying Finished Watercolor Projects
Once the painting is completely bone-dry, a light mist of UV-protective spray fixative seals the surface and prevents colors from fading in sunlight. This is a quick adult step that makes a huge difference for display. For the best presentation, mount the dry painting on a slightly larger piece of cardstock using a simple glue stick around the edges, which gives it a professional matted look.
Then, pop it into a standard frame with glass to protect it from dust and fingerprints. Avoid using any liquid brush-on varnishes, as they can reactivate the paint and cause disastrous smudging. This simple preservation method turns a fleeting art project into a keepsake you can enjoy for years.
Conclusion
The real success in guiding young artists comes from the laughter and the ‘wow’ moments when a new texture appears. It is about the shared experience at the kitchen table, the proud display on the fridge, and the gentle reminder that art is about exploration, not perfection. Your next step could be as simple as picking one technique to try together this weekend, letting your child lead the way with color choices. Watching their confidence grow with each brushstroke is the most beautiful creation of all, especially when you embrace watercolor painting techniques for kids.
FAQs
Q: What is the most important material for kids’ watercolor painting?
A: Heavyweight, cold press watercolor paper makes the biggest difference. It absorbs water without tearing or buckling, preventing frustration and allowing all the fun techniques to work properly.
Q: How do I stop my child from using too much water?
A: Demonstrate the ‘damp brush’ method. Show them how to wipe excess water on the edge of the water cup. Using a paper towel to test the brush intensity before painting also helps control puddles.
Q: Can we use regular printer paper for watercolor?
A: Printer paper is too thin. It will warp, tear, and not hold the paint well, leading to disappointment. Investing in proper watercolor paper ensures a much better and more successful experience.
Q: What is a good first technique for a complete beginner?
A: Start with a simple flat wash. It teaches brush control and how water moves the pigment. The crayon resist method is another excellent first project because the magical reveal is instantly rewarding.
Q: How do I clean up watercolor spills easily?
A: Keep a damp cloth nearby for quick wipes. Watercolor is water-soluble, so most spills clean up from surfaces with a little water. Protecting the work area with a plastic tablecloth or newspaper simplifies the process.